
There has been many new additions to Rockets a Help Desk this year, one of which is a new green screen. To go along with the green screen, we searched for some new software to accompany the wall. In this post, read about how RHD made this new addition, as well as how we are using the Do Ink green screen app to make projects.
Our Green Screen:
Since September, Rockets Help Desk has been wanting to add a green screen wall to our space in the library. We sectioned off a part of the wall next to the white board and brought in green paint to paint the wall. It only took one class period, a little spackle, two coats of paint and voila! Rockets Help Desk now has a green screen!
Utilizing the Green Screen:
To work in collaboration with our new green screen, we decided to try out the Do Ink Green Screen app. This app costs $2.99 and allows you to input a video or image in the place of the green screen and record over it. Also, with the purchase of the Do Ink Animation and Drawing App, you can create little animations that can fly around on your video.
Maneuvering the Do Ink App:
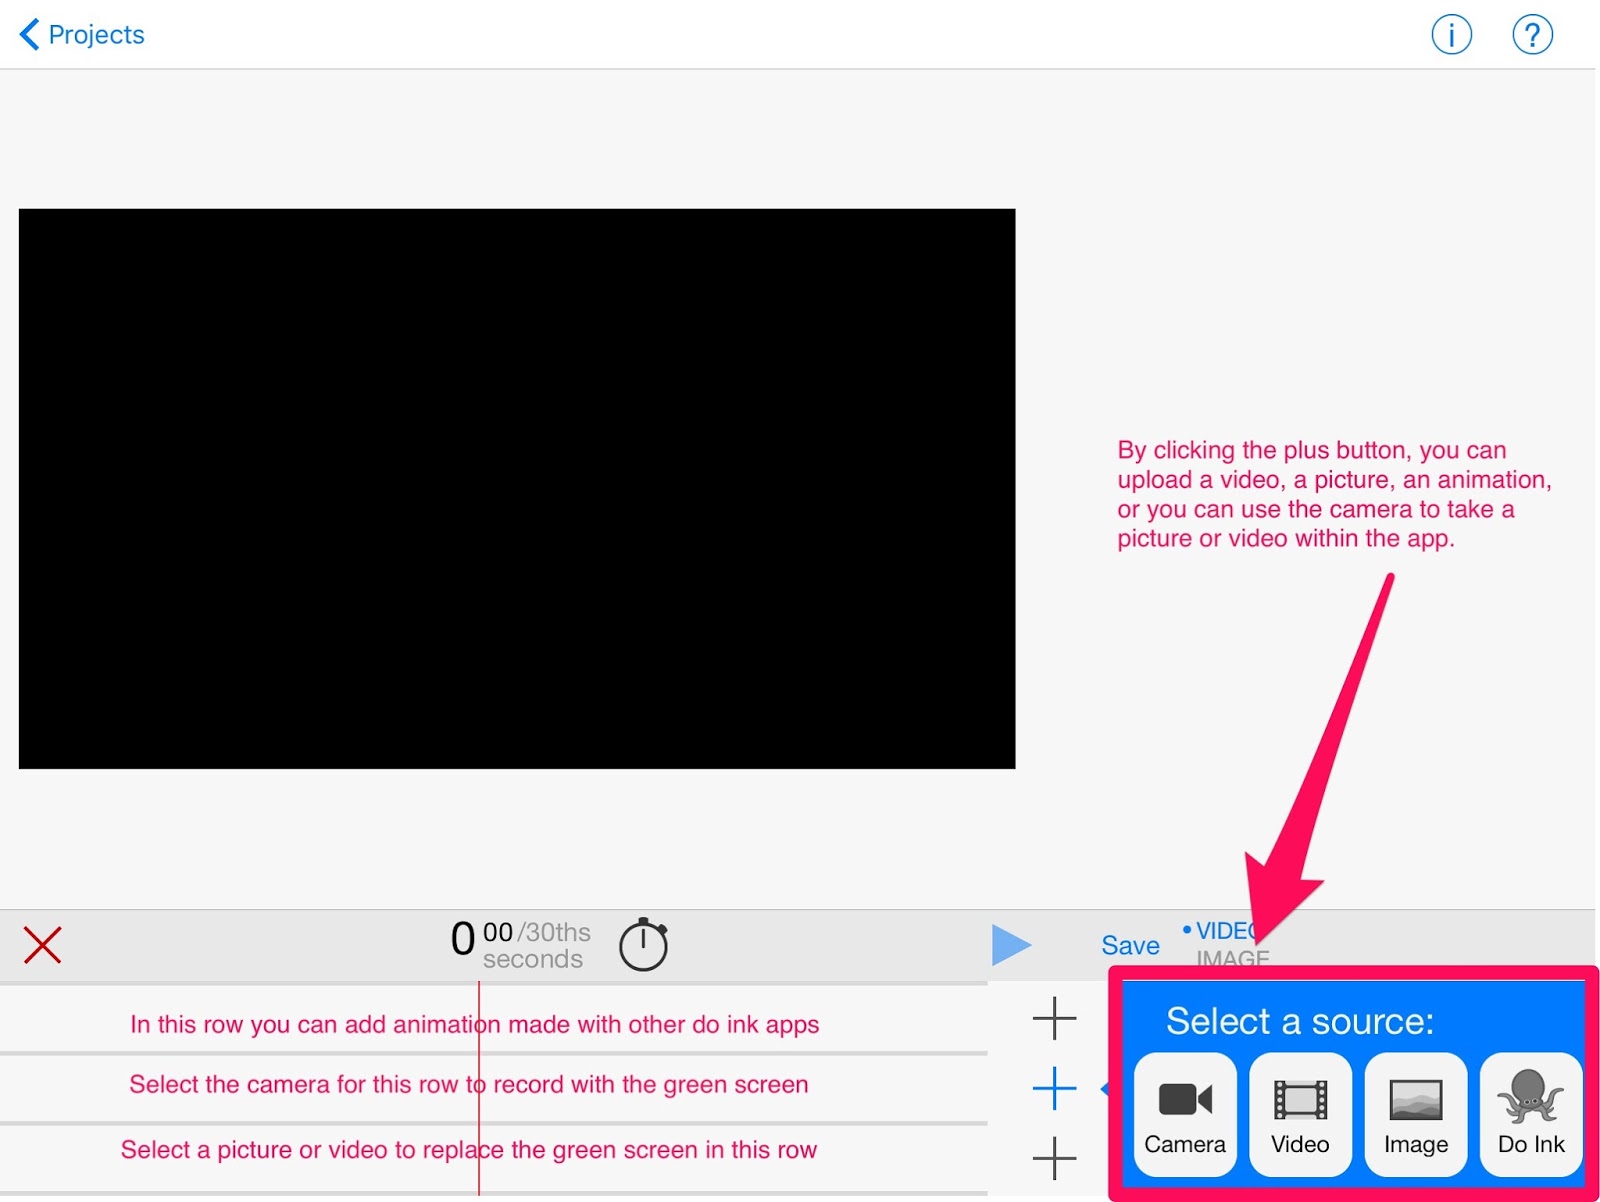
When you open the app for the first time, there is a tutorial video that shows you all the different things you can do and how to include them in your project. While helpful, to fully understand the app and how it works, it is best to start playing around with it. Below I have included an annotated screenshot that includes the basics on how to get started.
App in Action:
With a green screen, the possibilities are endless. You can transport yourself to distant lands, make yourself a part of an already existing video, and transform the space around you into a fancy office building, a volcano- whatever you like.
In the video below, I’ll show you how I transformed our space in the library into a news studio.
Hello guys ,
ReplyDeleteThis tutorials is helpful for me . So thanks for sharing . Product Photo Editing